When developing mobile apps it’s important to monitor errors so that you can understand your user’s experience. You need deeper insight than just a crash report because errors could cause a degraded user experience or a drop in key behavioral metrics. Your team needs to know quickly when there are production problems either with the app itself or with your backend services so you can fix the issue before more customers are impacted.
Rollbar’s Android SDK lets you track and analyze errors that happen in your Android native applications, and even trace problems to backend services and third party APIs. It provides you with a live error feed from your application, including complete stack traces and contextual data to debug errors quickly. We also track the environment the error is coming from (prod or staging), the server that generated the error, and even the user’s session data. You can then quickly assign ownership of errors to your team and track when they are fixed. Learn more about Rollbar’s product features for Android.
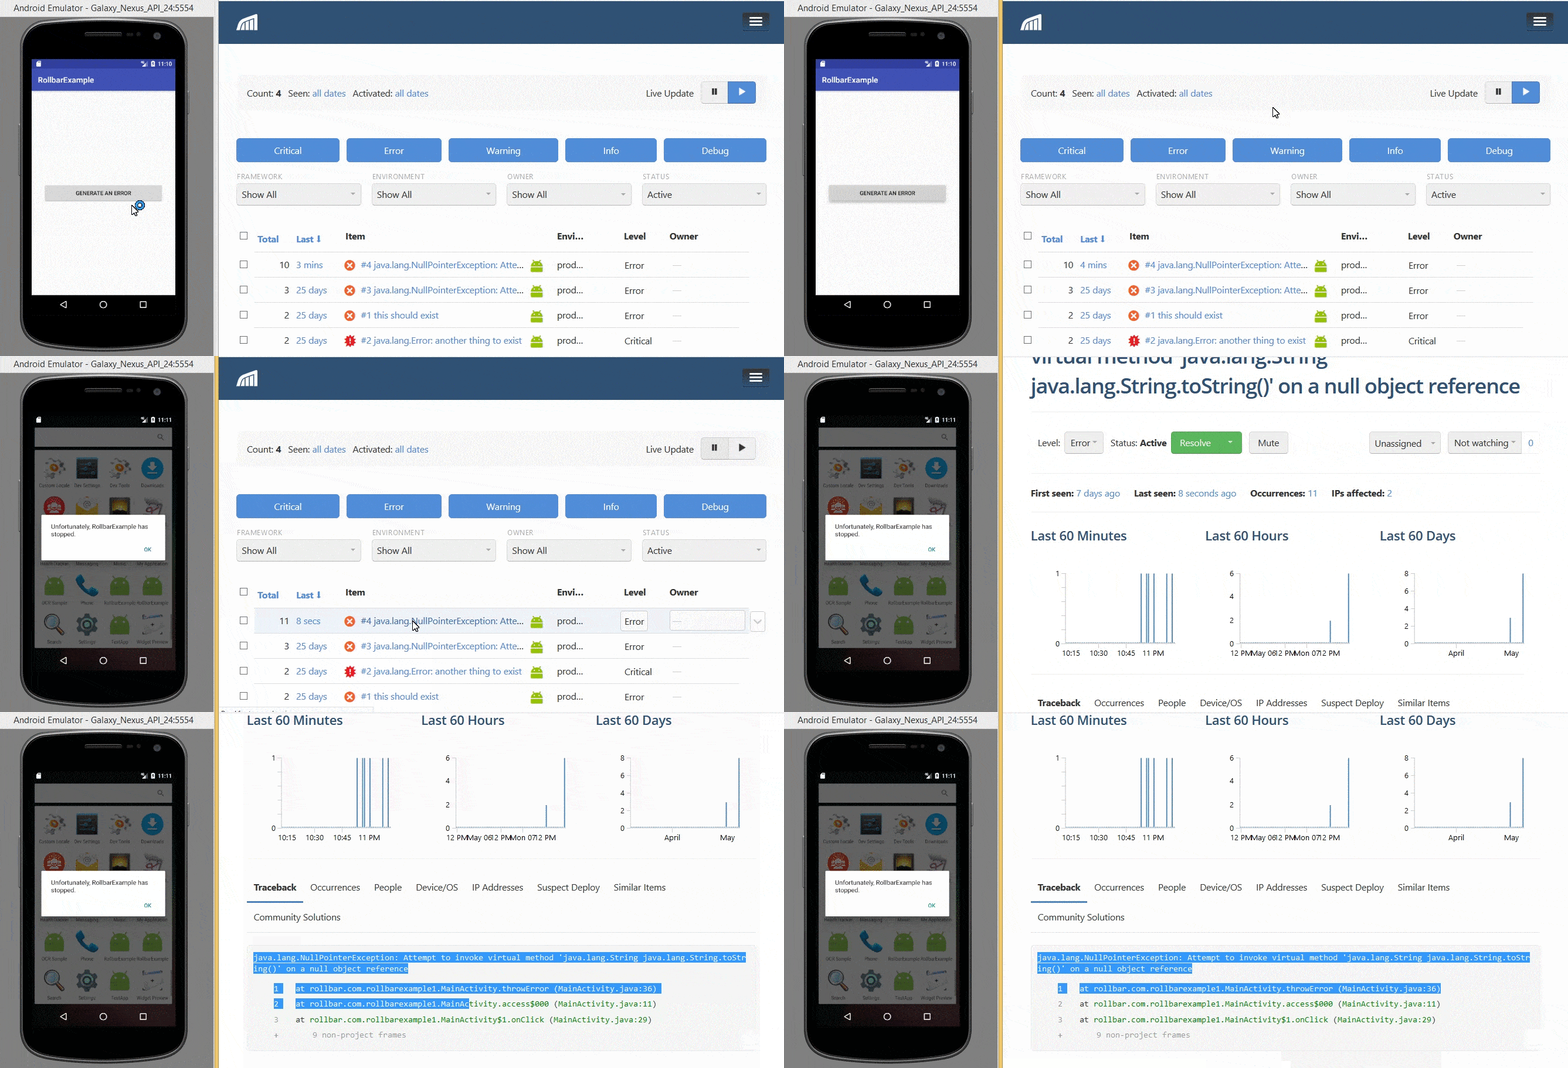
Below, you can see that we've created an example app that triggers an exception when the user clicks on a button. The error message is tracked in Rollbar, including a stack trace where you can see the line of code that caused the error. Rollbar captures errors that occur anywhere in the app. You can follow along with our example using the source code on GitHub.

Adding Rollbar in your code
-
Visit https://rollbar.com and sign up for an account if you haven’t done so yet. Next, create your project and select Other from the list of notifiers. Select the client side access token that is generated for you. You’ll need this to configure Rollbar in the steps below.
-
Open the
app.gradleof your project, and add the following dependencies.
compile('com.rollbar:rollbar-java:1.1.0')
compile('com.rollbar:rollbar-android:1.1.0@aar')- Add the project access token from step 1 in your app manifest file under the application section. You can find the manifest file in your project directory.
<meta-data android_name="com.rollbar.android.ACCESS_TOKEN" android_value="ACCESS_TOKEN" />The app does not provide you the meta-data section by default, so you need explicitly to add the Rollbar access token. The manifest file looks like this after adding the meta-data section.
<?xml version="1.0" encoding="utf-8"?>
<manifest xmlns_android="http://schemas.android.com/apk/res/android"
   package="rollbar.com.rollbarexample">

   <application
       android_allowBackup="true"
       android_icon="@mipmap/ic_launcher"
       android_label="@string/app_name"
       android_roundIcon="@mipmap/ic_launcher_round"
       android_supportsRtl="true"
       android_theme="@style/AppTheme">
       <activity android_name=".MainActivity">
           <intent-filter>
               <action android_name="android.intent.action.MAIN" />
               <category android_name="android.intent.category.LAUNCHER" />
           </intent-filter>
       </activity>

       <meta-data android_name="com.rollbar.android.ACCESS_TOKEN" android_value="YOUR_ACCESS TOKEN" />
   </application>

</manifest>- Open the code for your launcher activity, and then initialize Rollbar in the
onCreatemethod.
@Override
protected void onCreate(Bundle savedInstanceState) {
    super.onCreate(savedInstanceState);
    setContentView(R.layout.activity_main);
    Rollbar.init(this);
}
Test Rollbar with an example Android app
To test that it’s working, let’s create an activity that will generate an error message. In the example below, you’ll be able to generate an error by clicking the "Generate an error" button.
<?xml version="1.0" encoding="utf-8"?>
<RelativeLayout xmlns_android="http://schemas.android.com/apk/res/android"
   xmlns_app="http://schemas.android.com/apk/res-auto"
   xmlns_tools="http://schemas.android.com/tools"
   android_layout_width="match_parent"
   android_layout_height="match_parent"
   tools_context="rollbar.com.rollbarexample.MainActivity">
    <Button
        android_layout_margin="30dp"
        android_layout_centerInParent="true"
        android_text="Generate an error"
        android_id="@+id/clickMe"
        android_layout_width="match_parent"
        android_layout_height="50dp" />
</RelativeLayout>
public class MainActivity extends AppCompatActivity {
private Button button;
private Rollbar rollbar;
@Override
protected void onCreate(Bundle savedInstanceState) {
super.onCreate(savedInstanceState);
setContentView(R.layout.activity_main);
button=(Button)findViewById(R.id.clickMe);
Rollbar.init(this);
button.setOnClickListener(new View.OnClickListener() {
@Override
public void onClick(View view) {
throwError();
}
});
}
private void generateError(){
String test=null;
test.toString(); // This will throw null pointer exception
}
}When you click the "Generate an error" button, it will trigger the GenerateError method. In this method, we have added a bug which is throwing a null pointer exception.
Viewing errors in Rollbar
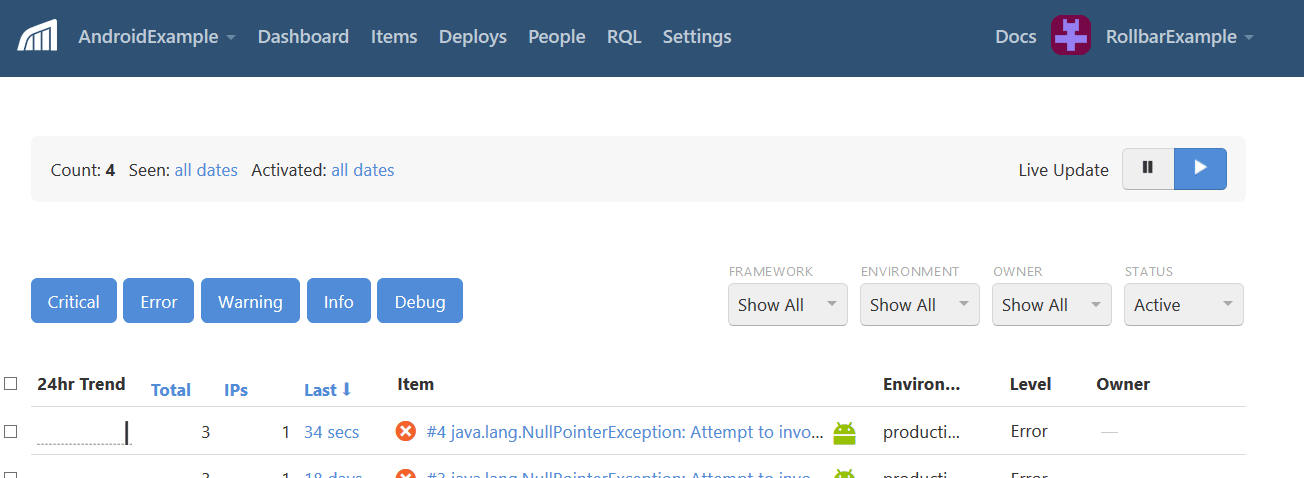
Open Rollbar to see what these errors look like in your account’s item page. The error we just generated should be called java.lang.NullPointerException: Attempt to invoke virtual method 'java.lang.String java.lang.String.toString()'.

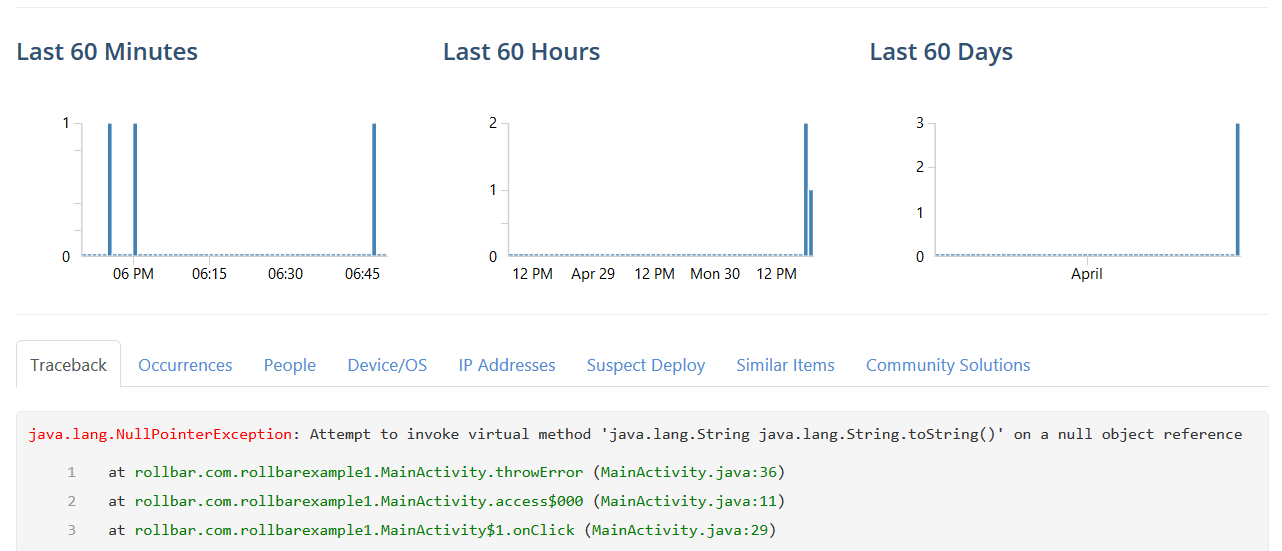
Get more details by clicking on the item. You can now see a traceback showing you the exact source code file, method, and line number that generated the error.

Rollbar also provides a lot of other contextual information that will help you troubleshoot and debug problems faster. Along the row of sub-tabs above you can get extra drill-down information on each individual occurrence and how many times it occurred, the people affected in client-side apps and how many people were impacted, and much more. You can use this to keep an eye on the error rate and drill down to troubleshoot high-impact errors.
It’s pretty easy to get error tracking across your entire app thanks to Rollbar’s Android SDK. It only takes a few minutes to set up, and you will have way more context to track and debug problems faster in the future. You’ll know about errors right away so your users can experience your app the way it was meant to be.
If you haven’t already, sign up for a 14-day free trial of Rollbar and let us help you take control of your web and mobile application errors.


