
If you're not thinking about integrating AI into your apps, you're missing out. In this tutorial, we will walk you through how to set up a React app that harnesses the vast knowledge of ChatGPT via the OpenAI API, allowing you to take your UI components to a whole new level.
Step 1: Sign up for the OpenAI API
To use the ChatGPT language model in a React app, first go to https://beta.openai.com/signup/ and sign up to get an API key that you will use to authenticate your requests.

Step 2: Setup the development environment
- Create an empty folder, for instance ‘chat-gpt-app’, and open it in an IDE like VSCode.
- Now open the terminal in VSCode and type the below command to create a Vite app with a React template.
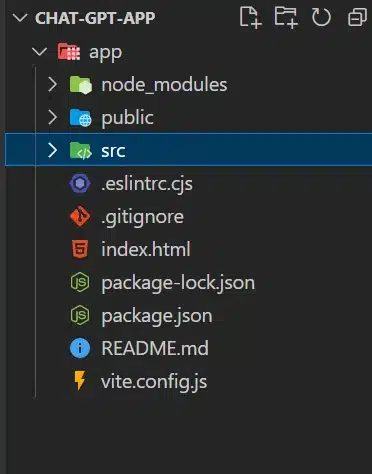
npm create vite@latest app -- --template reactThe below folder structure will be created:
Setup the ChatGPT development environment - Now enter the following command in the VSCode console to access the
appfolder:cd app - Run the
npm install.npm install - To build your chat interface, you'll also need to install the chatscope UI kit.
npm install@chatscope/chat-ui-kit-react
Step 3: Write React code to connect to the OpenAI API
Now enter the following code into the App.jsx file located within the src folder:
import { useState, useEffect }  from 'react';
import './App.css';
import '@chatscope/chat-ui-kit-styles/dist/default/styles.min.css';
import {
  MainContainer,
  ChatContainer,
  MessageList,
  Message,
  MessageInput,
  TypingIndicator,
} from '@chatscope/chat-ui-kit-react';

const API_KEY ="YOUR_API_KEY_HERE"

const App = () => {
  const [messages, setMessages] = useState([
    {
      message: "Hello, I'm ChatGPT! Ask me anything!",
      sentTime: "just now",
      sender: "ChatGPT",
    },
  ]);
  const [isTyping, setIsTyping] = useState(false);

  const handleSendRequest = async (message) => {
    const newMessage = {
      message,
      direction: 'outgoing',
      sender: "user",
    };

    setMessages((prevMessages) => [...prevMessages, newMessage]);
    setIsTyping(true);

    try {
      const response = await processMessageToChatGPT([...messages, newMessage]);
      const content = response.choices[0]?.message?.content;
      if (content) {
        const chatGPTResponse = {
          message: content,
          sender: "ChatGPT",
        };
        setMessages((prevMessages) => [...prevMessages, chatGPTResponse]);
      }
    } catch (error) {
      console.error("Error processing message:", error);
    } finally {
      setIsTyping(false);
    }
  };

  async function processMessageToChatGPT(chatMessages) {
    const apiMessages = chatMessages.map((messageObject) => {
      const role = messageObject.sender === "ChatGPT" ? "assistant" : "user";
      return { role, content: messageObject.message };
    });

    const apiRequestBody = {
      "model": "gpt-3.5-turbo",
      "messages": [
        { role: "system", content: "I'm a Student using ChatGPT for learning" },
        ...apiMessages,
      ],
    };

    const response = await fetch("https://api.openai.com/v1/chat/completions", {
      method: "POST",
      headers: {
        "Authorization": "Bearer " + API_KEY,
        "Content-Type": "application/json",
      },
      body: JSON.stringify(apiRequestBody),
    });

    return response.json();
  }

  return (
    <div className="App">
      <div style={{ position:"relative", height: "800px", width: "700px"  }}>
        <MainContainer>
          <ChatContainer>
            <MessageList
              scrollBehavior="smooth"
              typingIndicator={isTyping ? <TypingIndicator content="ChatGPT is typing" /> : null}
            >
              {messages.map((message, i) => {
                console.log(message)
                return <Message key={i} model={message} />
              })}
            </MessageList>
            <MessageInput placeholder="Send a Message" onSend={handleSendRequest} />
          </ChatContainer>
        </MainContainer>
      </div>
    </div>
  )
}

export default App;
Step 4: Open your app and start chatting
- Now to execute the code, type the below command in terminal:
npm run dev
Execute code and type command in terminal to run ChatGPT - Now you can just go to the above localhost and see your chat interface, where you can make conversations with the ChatGPT model.
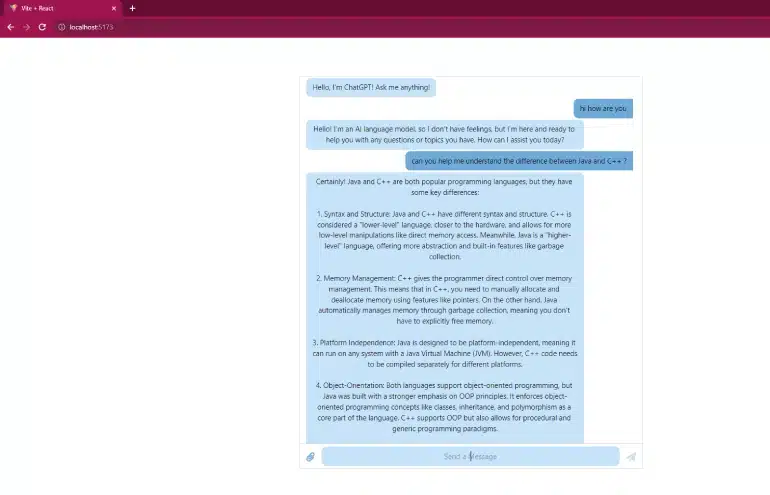
Localhost ChatGPT environment using React
Step-by-step guide explaining the React code
- Import Statements: Import the necessary hooks to handle the states and
@chatscope/chat-ui-kit-stylesand@chatscope/chat-ui-kit-reactthird-party libraries for styling and UI components of the chat interface. - State Initialization: The component initializes state using the
useStatehook:-
messages: An array of messages representing the chat conversation. It starts with an initial message from "ChatGPT." -
isTyping: A boolean state to indicate whether the AI ("ChatGPT") is typing a response.
-
- handleSendRequest Function:
- This function is called when the user sends a message.
- It adds the user's message to the
"messages"state as an "outgoing" message. - Sets
isTypingtotrue, indicating that the AI is processing the response. - Calls the
processMessageToChatGPTfunction to send the conversation history to the AI model and await its response. - Upon receiving the response, it adds the AI's message to the
"messages"state as an"incoming"message and setsisTypingtofalse.
- processMessageToChatGPT Function:
- This function prepares the chat messages to be sent to the ChatGPT API.
- It maps each message in the
chatMessagesarray to an object with a "role" (either "assistant" or "user") and "content" (the message text). - Creates a request body with the model
(gpt-3.5-turbo)and the messages, including a system message ("I'm a Student using ChatGPT for learning"). This message is used to set context and instruct the model on how to behave during the conversation. - Makes a POST request to the ChatGPT API using
fetchand returns the API response as JSON.
- Rendered Components:
- The
Appcomponent returns JSX, representing the chat interface. - The interface consists of a
MainContainercontaining aChatContainer. - Inside the
ChatContainer, there's aMessageList, which renders the chat messages. - Each message is represented by the
Messagecomponent with its corresponding data. - The
MessageInputcomponent allows you to send messages and calls thehandleSendRequestfunction on send.
- The
- Styling and Layout:
- The outer
divwithclassName="App"sets up the app's base styling. - The chat interface is contained within a
divwith custom inline styling for height and width.
- The outer
Overall, the code set up a React app with a chat interface showing messages and allowing users to interact with the AI.
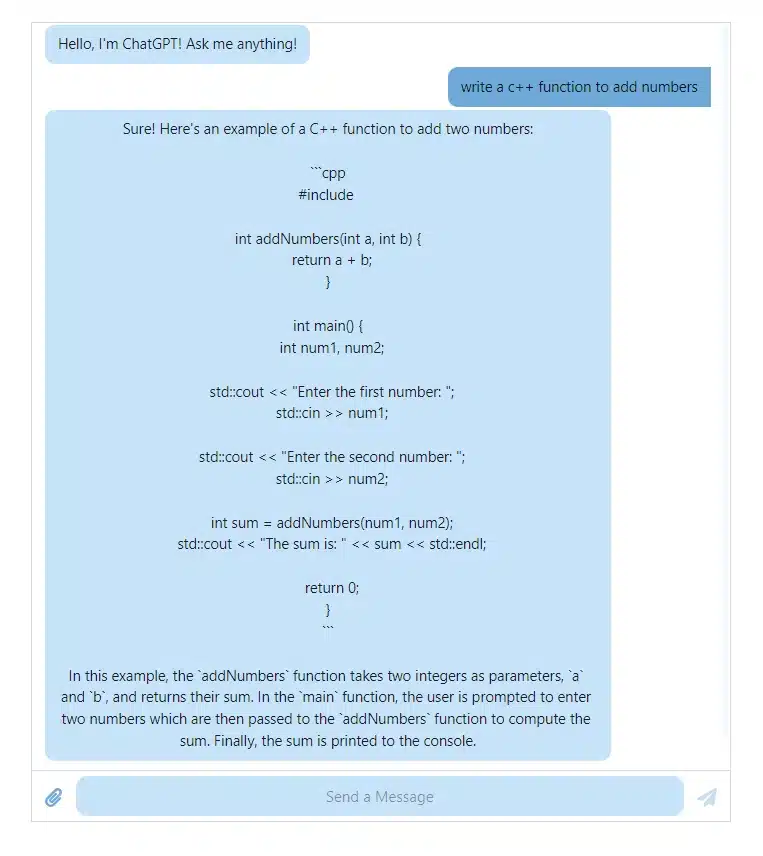
Example: Prompt ChatGPT for C++ code to add two numbers
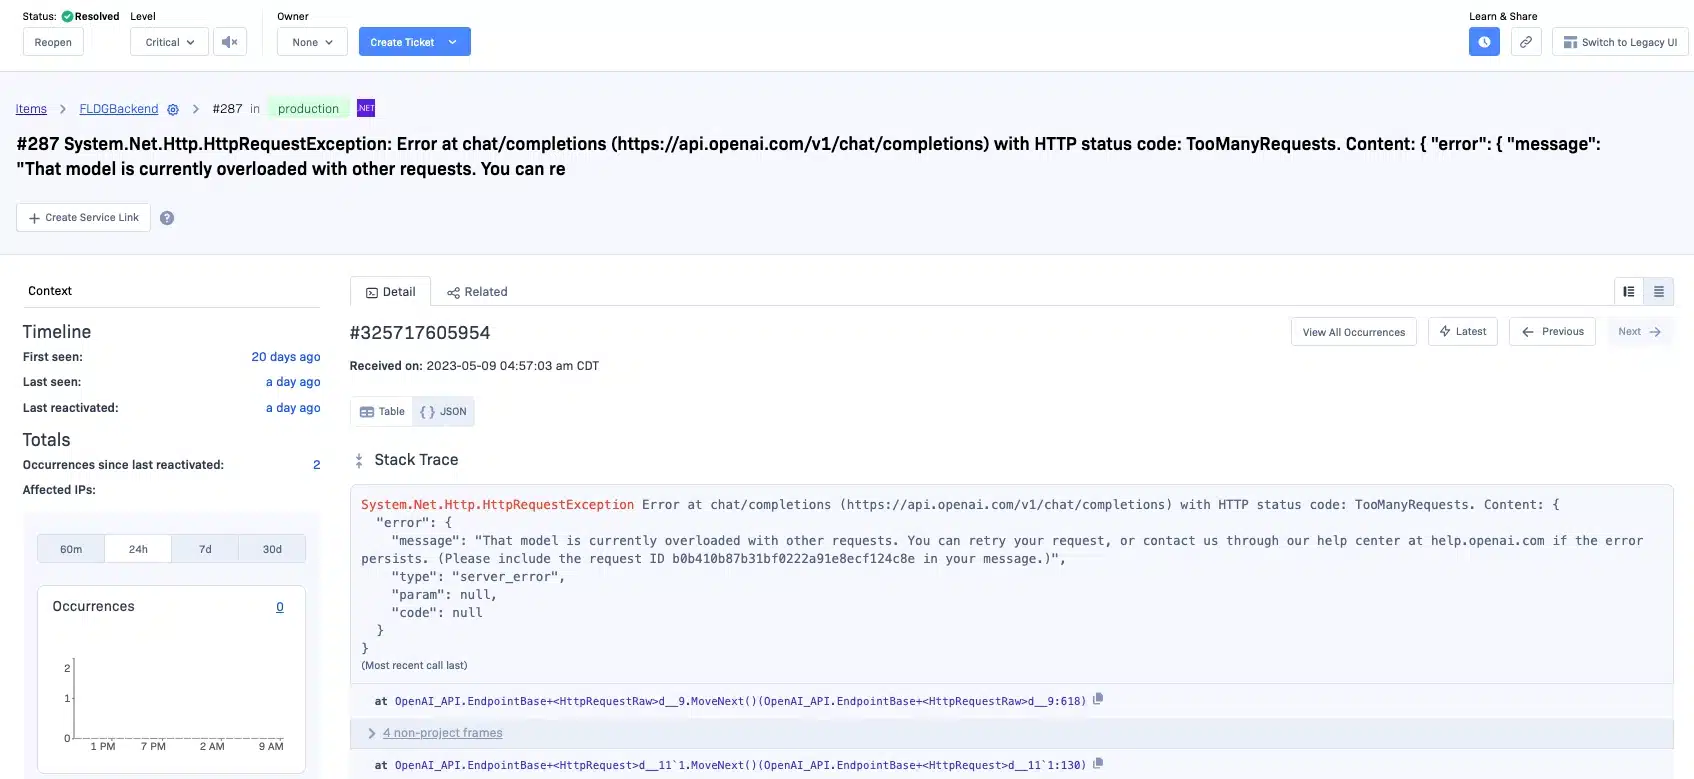
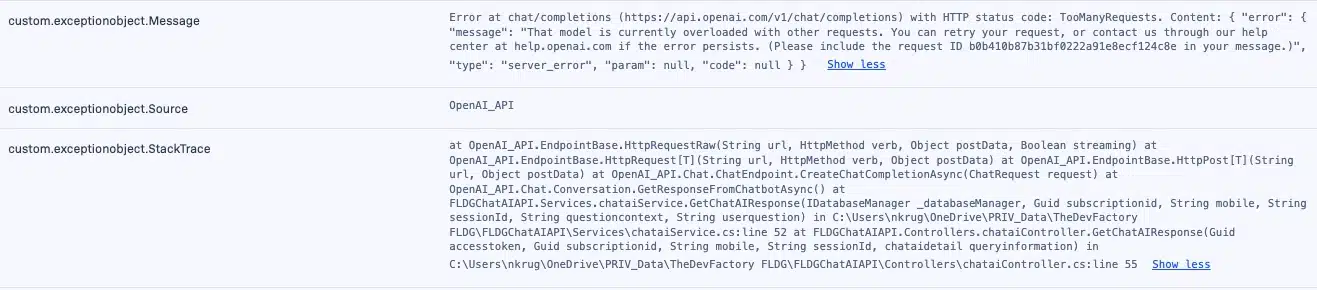
Pro tip: the best way to handle errors from the ChatGPT API
It's a best practice to monitor exceptions that occur when interacting with any external API. For example, the API might be temporarily unavailable, or the expected parameters or response format may have changed and you might need to update your code, and your code should be the thing to tell you about this. Here's how to do it with error monitoring platform Rollbar:
First install Rollbar using the node package manager, npm:
npm install --save rollbar
Next, setup the Rollbar configuration (example using Express):
var express = require('express');
var Rollbar = require('rollbar');
var rollbar = new Rollbar('POST_SERVER_ITEM_ACCESS_TOKEN');

var app = express();

app.get('/', function(req, res) {
  // ...
});

// Use the rollbar error handler to send exceptions to your rollbar account
app.use(rollbar.errorHandler());

app.listen(6943);
Example of an API error:
(Caught by Rollbar)
To get your Rollbar access token, sign up for free and follow the instructions for React.
We can't wait to see what you build with ChatGPT. Happy coding!